
Installation
Installing Your Universal Rear Seat Armrest
This is a simple, four step, process to install your Universal Armrest.
Complete instructions will accompany your shipment, or you can watch the installation video below.
Standard Armrest Install
Radially Backed Armrest Install
Here is a Step-By-Step Installation Guide
Step One
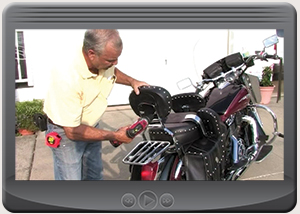
Remove the screws that hold the backrest to the sissy bar.
Remove the screws that hold the backrest to the sissy bar.
Step Two
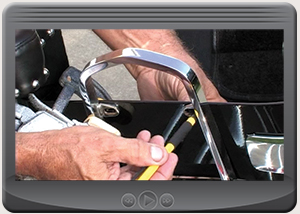
Find the center mark on the armrest, and then clamp the armrest in the center of the sissy bar. Following that, mark the Armrest where the existing mounting screw brackets are.
Find the center mark on the armrest, and then clamp the armrest in the center of the sissy bar. Following that, mark the Armrest where the existing mounting screw brackets are.
Step Three
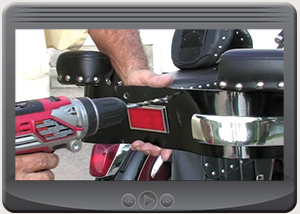
Using a quarter inch drill bit, drill the holes into the armrest.
Using a quart inch drill bit, drill the holes into the armrest.
Step Four
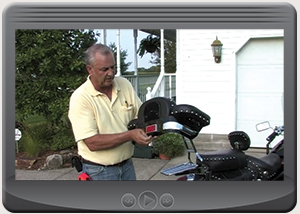
Lineup the holes in the backrest, with the holes that you drilled into the Armrest, and the holes in the sissy bar. Then reinsert the original screws back into the backrest. Tighten with a drill and you are done!
Lineup to holes in the backrest, with the holes that you drilled into the Armrest, and the holes in the sissy bar. Then reinsert the original screws back into the backrest. Tighten with a drill and you are done!
